cellPACK documentation
Welcome to cellPACK! This documentation provides an overview of the cellPACK package, its modules, and how to contribute.
cellPACK
![]()
![]()
![]()
An algorithm to pack molecular recipes
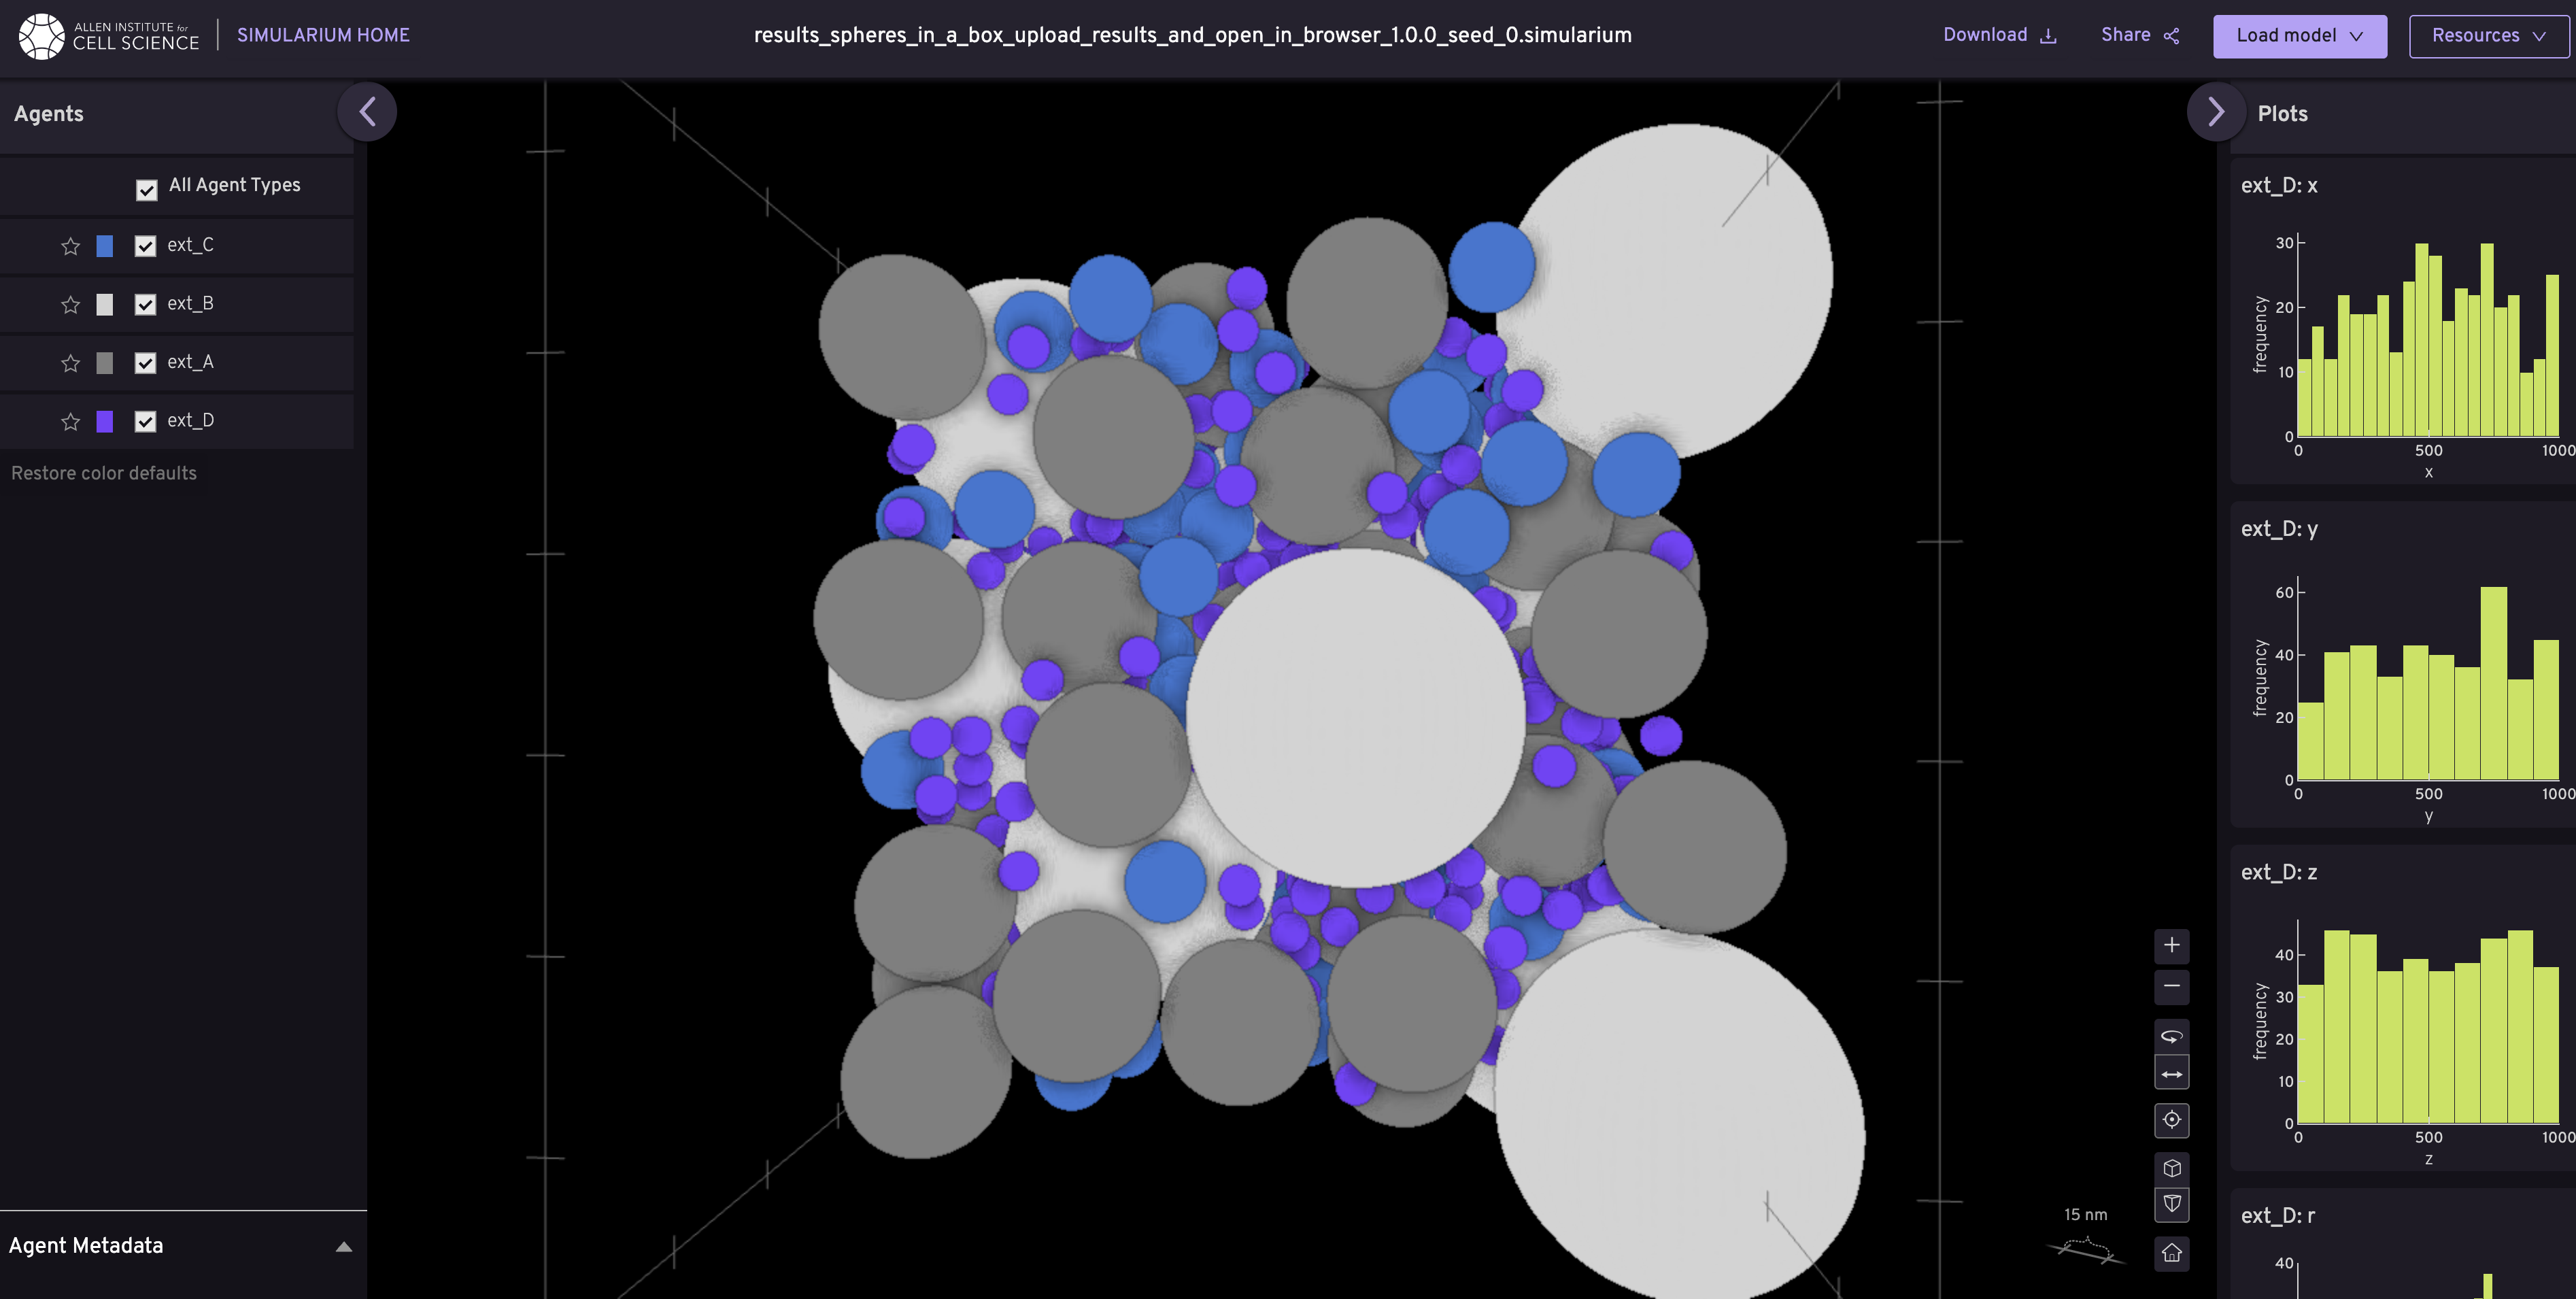
Try cellPACK online: cellpack.allencell.org
Installation
[!NOTE] These are the basic installation steps. However, our recommendation for developers is to install using
uv. See advanced installation instructions here.
Install Python 3.11 and
git. Update pip at least to24.0.0.Clone this git repository.
git clone git@github.com:mesoscope/cellpack.git
cd cellpack
Create a new virtual environment and activate it.
python -m venv .venv
source .venv/bin/activate
Install the package and its dependencies from
pyproject.toml.
pip install --upgrade pip
pip install -e .
Pack example recipes
cellPACK supports two recipe formats: v1 (legacy) from the original publication, and v2 (modern) with improved structure. We recommend starting with v2 for new recipes.
Recipe Format Versions
v1 Recipes (Legacy Format)
v1 recipes use the original schema from the Nature Methods publication. These recipes feature:
Explicit parameter definitions for all ingredients
Backward compatibility with the original cellPACK publication examples
Example v1 recipes:
NM_Analysis_FigureB1.0.json- Blood plasma mesoscale model from the Nature Methods publicationBloodPlasma_noHIV_1.0_2D.json- 2D blood plasma modelpartner_packing.json- Example of molecular partner binding
Run a v1 recipe:
pack -r examples/recipes/v1/NM_Analysis_FigureB1.0.json

v2 Recipes (Modern Format)
v2 recipes use a modernized schema with improved structure and features:
Cleaner organization with
objectsandcompositionsectionsObject inheritance system for efficient recipe authoring
Better support for complex cellular environments
Example v2 recipes:
spheres_in_a_box.json- Simple 3D multi-sphere packing (great for getting started)peroxisome.json- Peroxisome organelle modeler_peroxisome.json- Endoplasmic reticulum with peroxisomesvector_gradient.json- Demonstrates gradient-based ingredient distributionspartner_packing.json- Molecular partner interactions
Run a v2 recipe:
pack -r examples/recipes/v2/spheres_in_a_box.json
Remote Recipe Loading
You can also load recipes directly from remote servers:
pack -r github:recipes/NM_Analysis_FigureB1.0.json
Config Files
Config files control packing behavior and simulation parameters including:
Place methods - Algorithm used for ingredient placement (e.g.,
jitter,spheresSST)Output formats - Save options for results and analysis
Grid settings - Spatial grid parameters for collision detection
Debugging options - Visualization and diagnostic tools
Using a config file:
pack -r examples/recipes/v2/spheres_in_a_box.json -c examples/packing-configs/debug.json
Stable Release: pip install cellpack
Development Head: pip install git+https://github.com/mesoscope/cellpack.git
Documentation
For full package documentation please visit mesoscope.github.io/cellpack.
Development
See CONTRIBUTING.md for information related to developing the code.
Remote databases
cellPACK uses AWS and Firebase Firestore as remote databases to store packing results and recipes. Follow setup instructions for access.
Docker
cellPACK can be run in Docker containers for running the server on AWS ECS. Follow the instructions to set up the Docker environment.
MIT license